Top Tips for Seamless Stress Crack Repairs in Your Walls
Introduction
Stress cracks in walls can be a frustrating issue for homeowners, affecting both the appearance and structural integrity of your living spaces. Knowing how to repair these cracks effectively can prevent them from worsening and ensure your walls look pristine once again. In this guide, we’ll explore the top tips and techniques for achieving seamless stress crack repairs in your walls.

Understanding Stress Crack Repairs
Before diving into the repair process, it’s essential to understand what causes stress cracks in walls. These cracks typically occur due to settling foundations, temperature fluctuations, humidity changes, or simply the natural aging of your home’s structure. While they may start small, neglecting them can lead to larger, more costly repairs down the road.
Tools and Materials You’ll Need
To repair stress cracks in your walls, gather the following tools and materials.
Putty knife: For applying the patching compound.
Sanding block: To smooth out the repaired area.
Primer and paint: Matching your wall’s existing color.
Mesh tape or patching compound: Depending on the size of the crack.
Safety goggles and mask: To protect yourself from dust and debris.
Step-by-Step Guide to Repairing Stress Cracks
Prepare the Crack
Use a utility knife to widen the crack slightly and remove any loose debris or old paint.
Apply Patching Compound
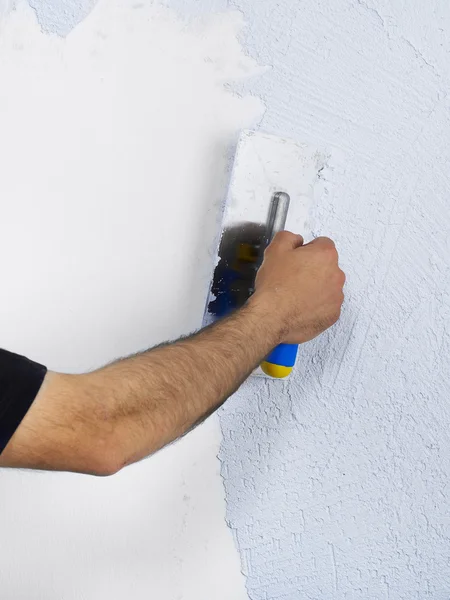
Fill the crack with either mesh tape embedded in the patching compound for larger cracks or apply the patching compound directly for smaller cracks. Smooth it out with a putty knife and allow it to dry according to the manufacturer’s instructions.
Sand and Feather Edges
Once dry, use a sanding block to smooth the patched area, feathering the edges to blend seamlessly with the surrounding wall surface.
Prime and Paint
Apply a coat of primer to the repaired area to ensure the paint adheres evenly. Once dry, paint the area to match the rest of the wall.
Tips for Achieving a Seamless Finish
Blend Paint Colors
To ensure a seamless finish, feather the paint edges into the surrounding wall, blending the colors for a smooth transition.
Use Light Layers
Apply multiple thin layers of patching compound and paint rather than one thick layer to avoid visible patches.
Patience is Key
Allow each layer of patching compound, primer, and paint to dry completely before applying the next layer to achieve the best results.
Common Mistakes to Avoid
Neglecting Proper Preparation
Failing to clean and prep the crack properly can result in poor adhesion and a less durable repair.
Skipping Primer
Applying paint directly to patched areas without a primer can lead to uneven color and adhesion issues.
Overlooking Safety
Always wear protective gear like goggles and a mask when sanding or handling patching compounds to protect yourself from dust and chemicals.
When to Call a Professional
If you’re dealing with extensive or recurring stress cracks, or if you’re unsure about tackling the repair yourself, it’s best to consult a professional. They can assess the situation, provide expert advice, and ensure the repairs are done correctly and efficiently.
Conclusion
Repairing stress cracks in your walls doesn’t have to be daunting. By following these tips and techniques, you can effectively restore the appearance and structural integrity of your walls. Remember, attention to detail and patience are key to achieving a professional-looking finish.
FAQs
What causes stress cracks in walls?
Stress cracks can result from various factors such as settling foundations, temperature changes, humidity fluctuations, or structural aging.
Can stress cracks in walls indicate a serious problem?
While most stress cracks are minor, they can sometimes indicate underlying structural issues. It’s essential to monitor them and consult a professional if you’re concerned.
How do I find the right plaster wall repair specialist in California?
A: Research online directories, get quotes, check experience & expertise, verify licensing & insurance, and prioritize clear communication.
